Grandpa Joe's Italian Kitchen
  • Home
  • Blogs
  • Recipes
  • Vegetarian Recipes
  • Blog History
  • About
Grandpa Joe's
Challah

Challah is a classic Jewish celebratory bread.


About this recipe

Although I have made minor modifications, I must give full credit for this superb Challah recipe to Peter Reinhart who published it in his 2001 book "The Bread Baker's Apprentice" (pages 133 and 134).  I often bake Challah in loaf pans (as pictured here), but it is traditionally baked as a braided loaf (See Braiding Directions below).

Ingredients

  • 18 ounces (4 cups) King Arthur unbleached bread flour
  • 2 tablespoons sugar
  • 1 teaspoon salt
  • 1½ teaspoons instant dry yeast
  • 2 tablespoons vegetable oil
  • 2 large eggs
  • 2 large egg yolks (reserve the egg whites if using the Braid method)
  • water, at room temperature
  • sesame seeds or poppy seeds (for the Braid method only)

Directions - Loaf Style

  1. Using a digital kitchen scale, tare a glass bowl and then add the oil, eggs, and egg yolks.  Add sufficient water to bring the total weight to 13½ ounces.  (Note:  If a kitchen scale is not available, use 1 cup less 2 tablespoons of water).  Slightly beat the egg yolks.
  2. Transfer the liquids to the bowl of a stand mixer with the dough hook attachment.
  3. Begin mixing slowly and add the dry ingredients beginning with the sugar, yeast, and half the flour.  Then add the salt and remaining flour.
  4. When the flour is hydrated, increase the mixing speed and knead for an additional 6 minutes.
  5. Lightly oil a bowl that is at least 1½ times as large as the dough ball.  Transfer the dough to the bowl, cover, and let rise for 1 hour.  Using your fingers, and without removing the dough from the bowl, punch the dough down in several places.  Cover again, and let rise until the dough reaches 1½ times its original size, or about another hour .
  6. Using a bowl scraper, remove the dough to a floured work surface.  Dust the dough lightly to allow you to divide it into two equal portions (about a pound each).  Form each portion into a tight dough ball.
  7. Let the dough balls rest for about 5 minutes.  Then, using the palms of your hand, flatten each dough ball to form an oval mass about 1 inch thick.  Beginning at the edge furthest away from you, roll the dough forward towards you (as if you were making a jelly roll).  After a small portion has been rolled forward, and using your fingers, press firmly along the seam to seal the first rolled portion to the remaining dough.  Repeat this roll and seal sequence until the dough is in the general shape of a torpedo roll or hoagie.
  8. Place each "torpedo" seam side down in a loaf pan (See Notes) sprayed with cooking oil.  Spray a piece of plastic wrap and cover the pan, oiled side down.
  9. Let rise for 75 minutes, or until the dough rises above the top of the loaf pans.
  10. Bake in a preheated 350° F oven for 22 minutes, or until the bread is golden brown.
  11. Remove the bread to a cooling rack and allow it to reach room temperature before slicing.            
Picture
Ready for the final rise (Step 8).
Picture
Ready for the oven (Step 9).
Picture
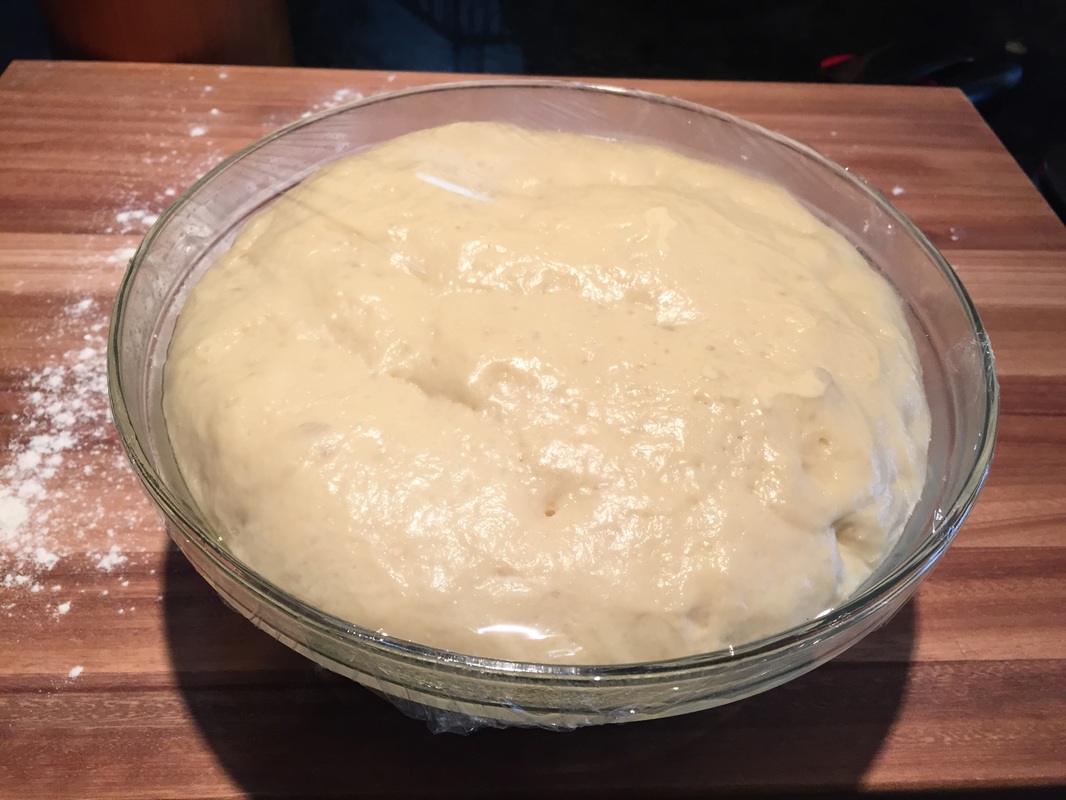
Dough fully risen and ready for shaping (Step 5).

Picture
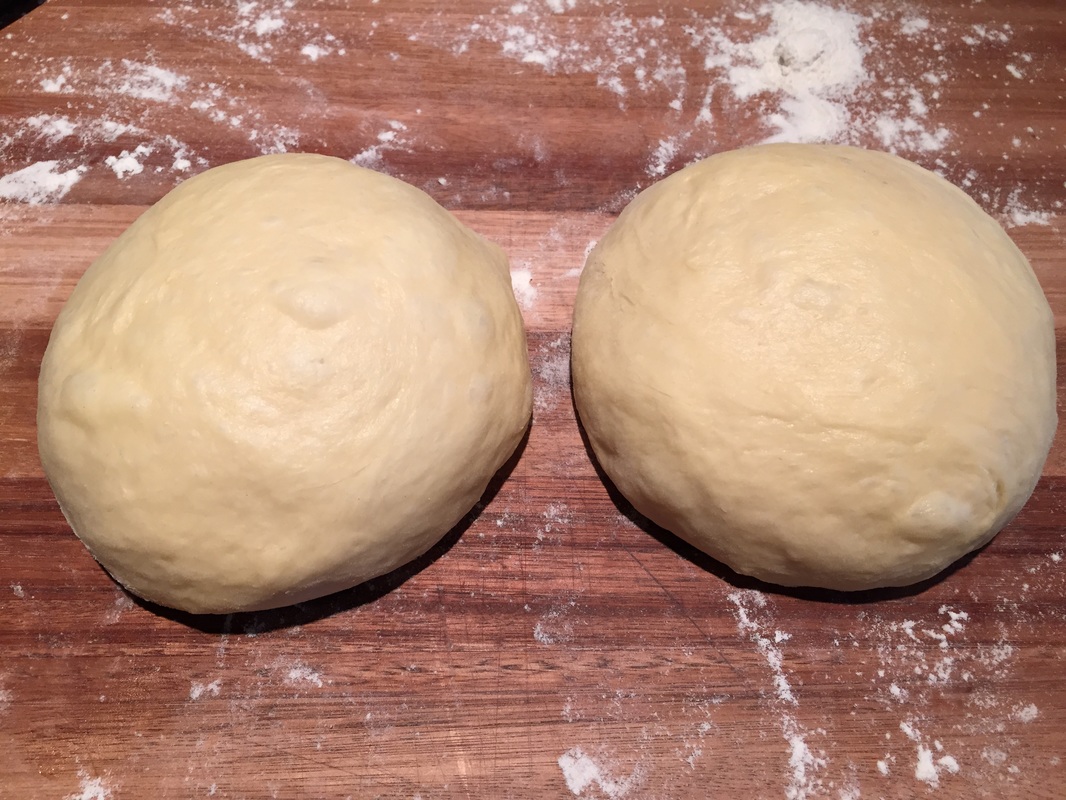
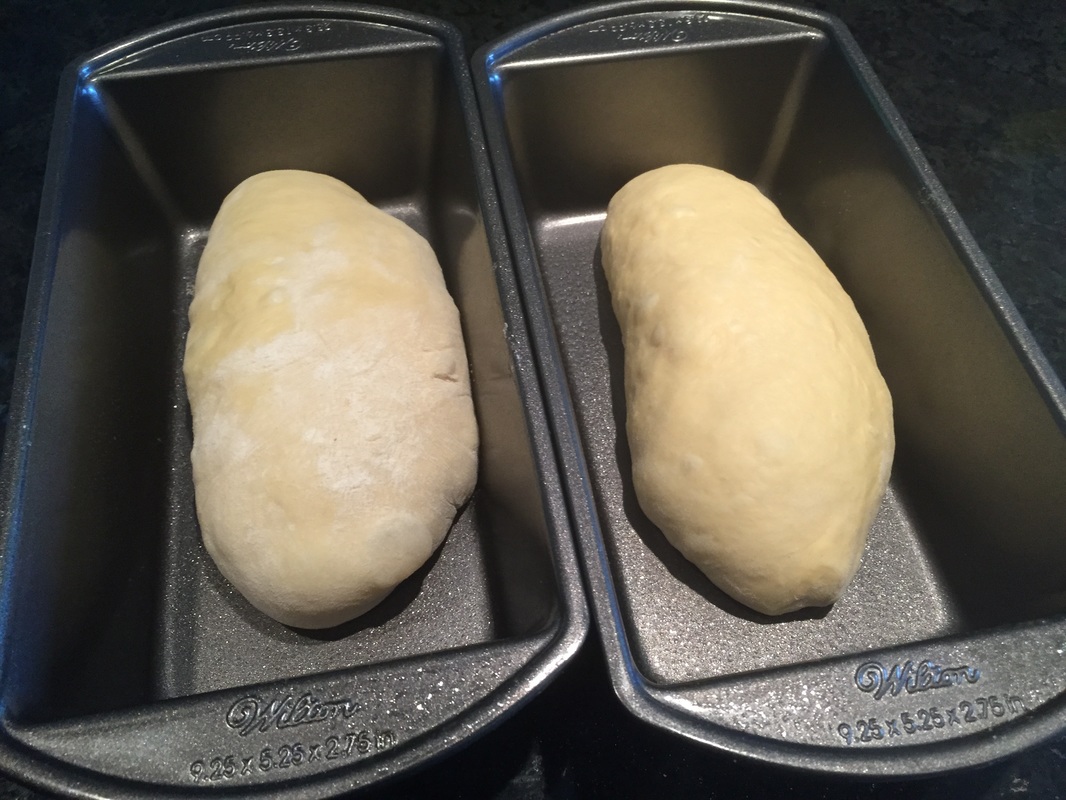
Two tightly rolled balls (Step 6).

Picture
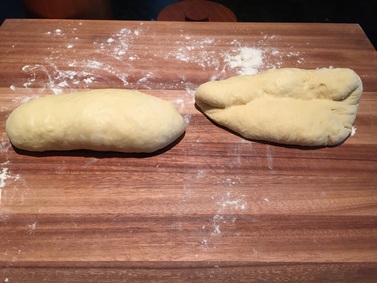
One "torpedo" and one (on the right) partially formed (Step 7).

Picture
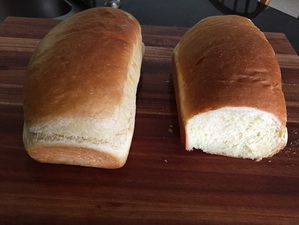
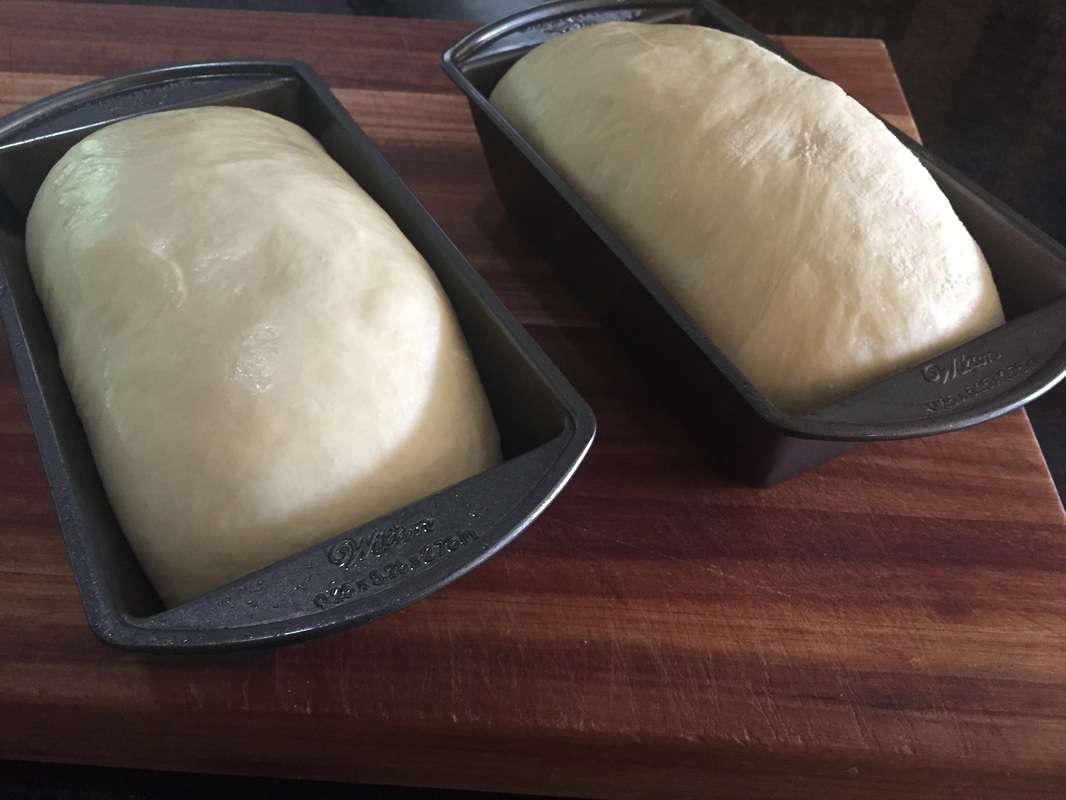
Challah baked loaf style.

Directions - Traditional Braid

  1. Follow Directions 1 through 5 above.
  2. Using a bowl scraper, remove the dough to a floured work surface.  Dust the dough lightly to allow you to divide it into three equal portions.  Form each portion into a tight dough ball and let rest for five minutes.
  3. On a very lightly floured surface, and using a back and forth motion with the palms of your hands, roll each ball (one by one) into a circular strand.  As you do this, the dough will expand and then contract again.  Resting the dough periodically reduces its tendency to contract, so the recommended approach is to work the first dough piece into a 4 to 6 inch strand.  Then allow that piece to rest and move on to the second and third pieces.  Now go back to the first and roll that one out a bit further.  Continue the rolling process from one dough piece to the next until all are about 24 inches long.
  4. To create the braid, lay the three strands parallel to each other and about two inches apart.  Starting in the middle, drape the rightmost strand over the middle strand.  Next drape the leftmost strand over the new middle strand.  Repeat the right over middle, then left over middle, until you reach the end of the strands.  Pinch all three strands together.
  5. Rotate the board 180 degrees.  Working again from the middle, this time drape the middle strand over the leftmost strand and then drape the new middle strand over the rightmost strand.  Repeat this sequence until you reach the end, and then pinch the three strands together as before.
  6. Transfer the braid to a parchment paper lined baking sheet.  Gently brush the reserved egg whites over the top and sides of the braid.  Cover, but do not allow the cover to touch the bread.  Let rise for 75 minutes.
  7. Brush the braid with more egg white and sprinkle generously with sesame seeds or poppy seeds.
  8. Bake in a preheated 350° F oven for 24 minutes, or until the bread is golden brown.
  9. Remove the bread to a cooling rack and allow it to reach room temperature before slicing.
Picture
Next step: place the far left strand over the (new) middle strand (Step 4).
Picture
Braided and ready for proofing (Step 6).
Picture
Ready for the oven (Step 8).

Notes

  • The liquid ingredients amount in this recipe has been optimized for King Arthur unbleached bread flour.  Other flours may be substituted, but as much as one-half ounce of water may need to be added or subtracted to achieve equivalent results.  This is because of differences in flour particle size.
  • The loaf pans pictured here are 9" x 5" on top, 8" x 4" on the bottom, and 3" deep.
  • Challah makes unbelievably delicious French Toast.
Picture
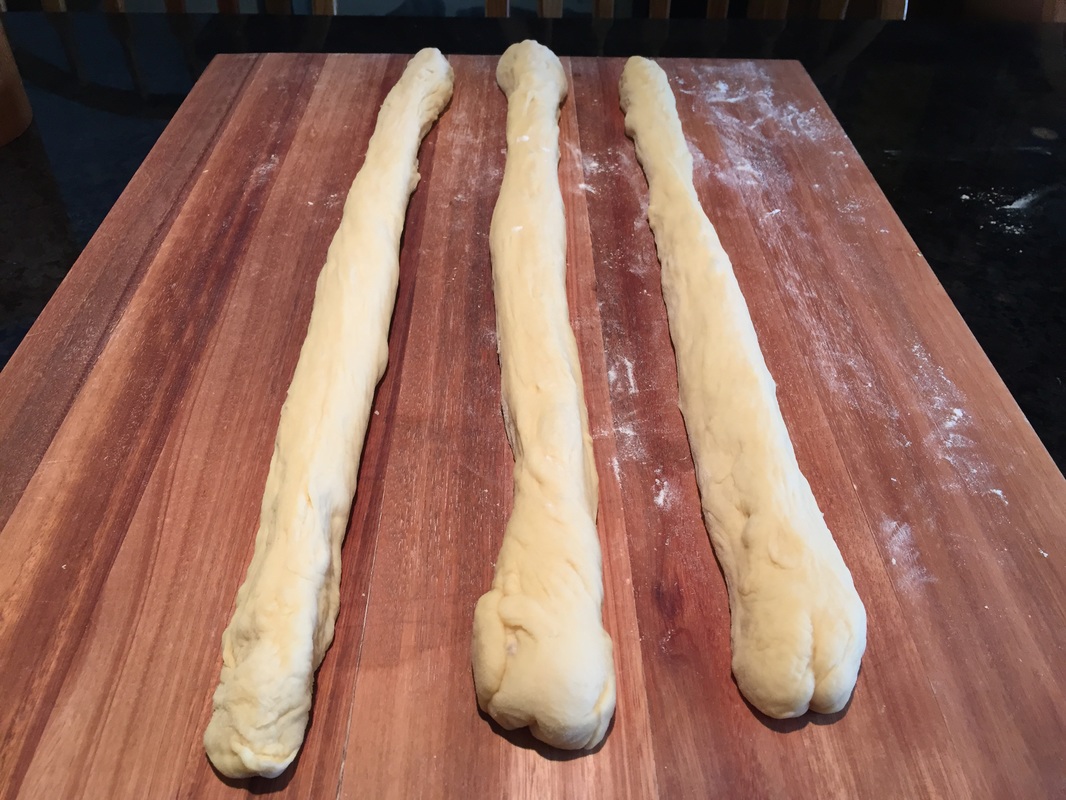
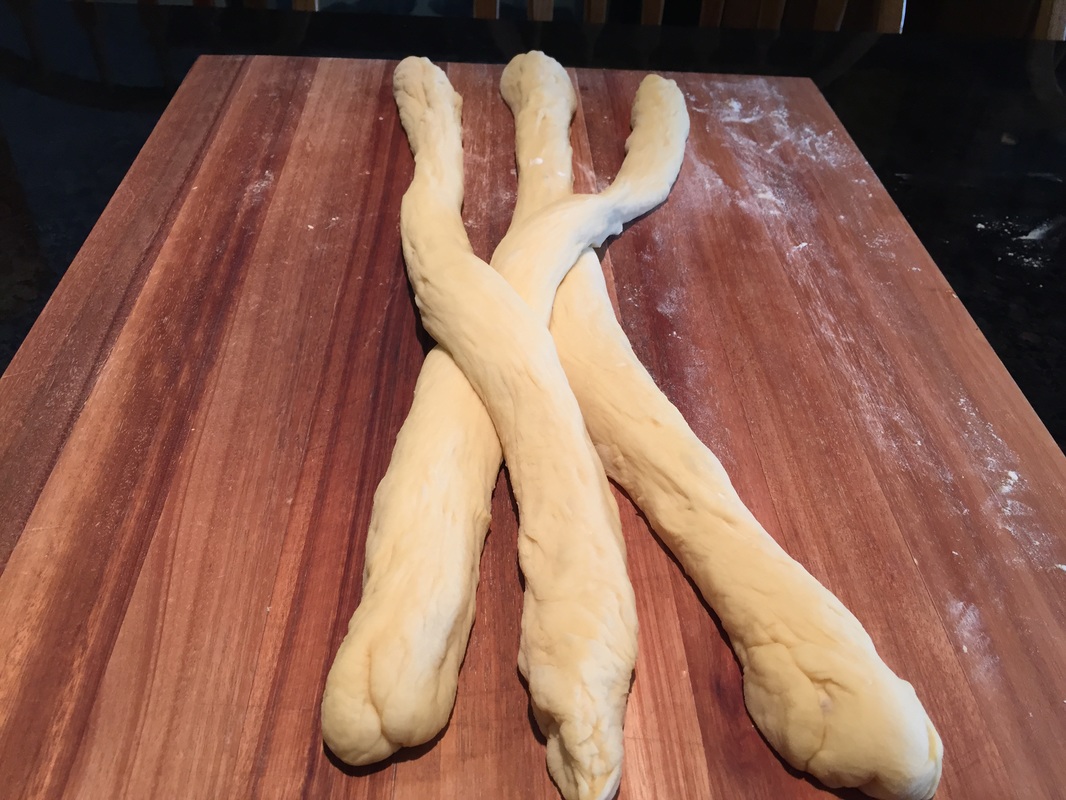
Ready for braiding (Step 3).

Picture
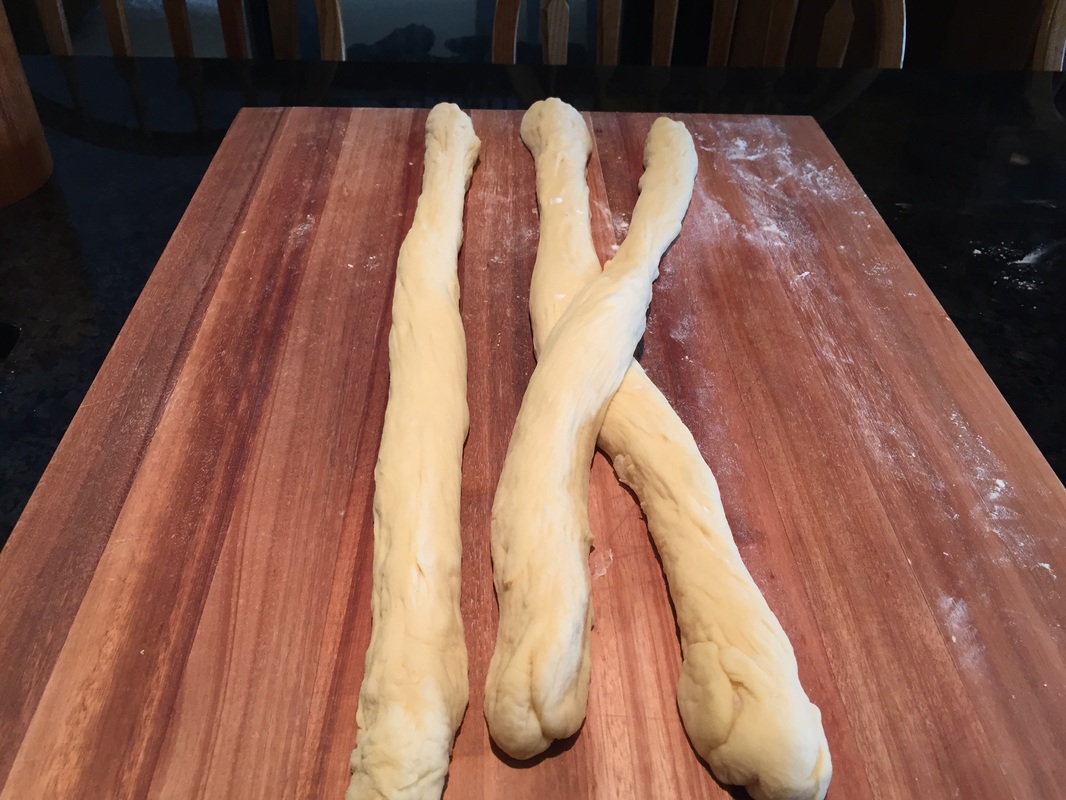
First step:  place the far right strand over the middle strand (Step 4).

Picture
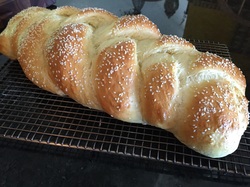
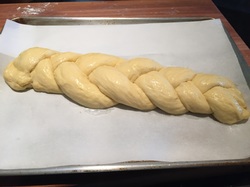
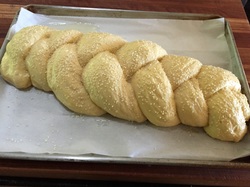
Traditional braided Challah.

Posted: September 2015.