|
Grandpa Joe's
Ciabatta I love bread, and I particularly love crusty Italian bread. This recipe for Ciabatta is my favorite. Although I have made minor modifications, I must give full credit for this superb recipe to Peter Reinhart who published it in his 2001 book "The Bread Baker's Apprentice" (pages 106 and 136-139). |
|
About this recipe
Many books have been written on the art of bread making, but Chef Reinhart's is my favorite because of his easy-to-follow recipes and his detailed explanations of why each aspect of bread making is so important.
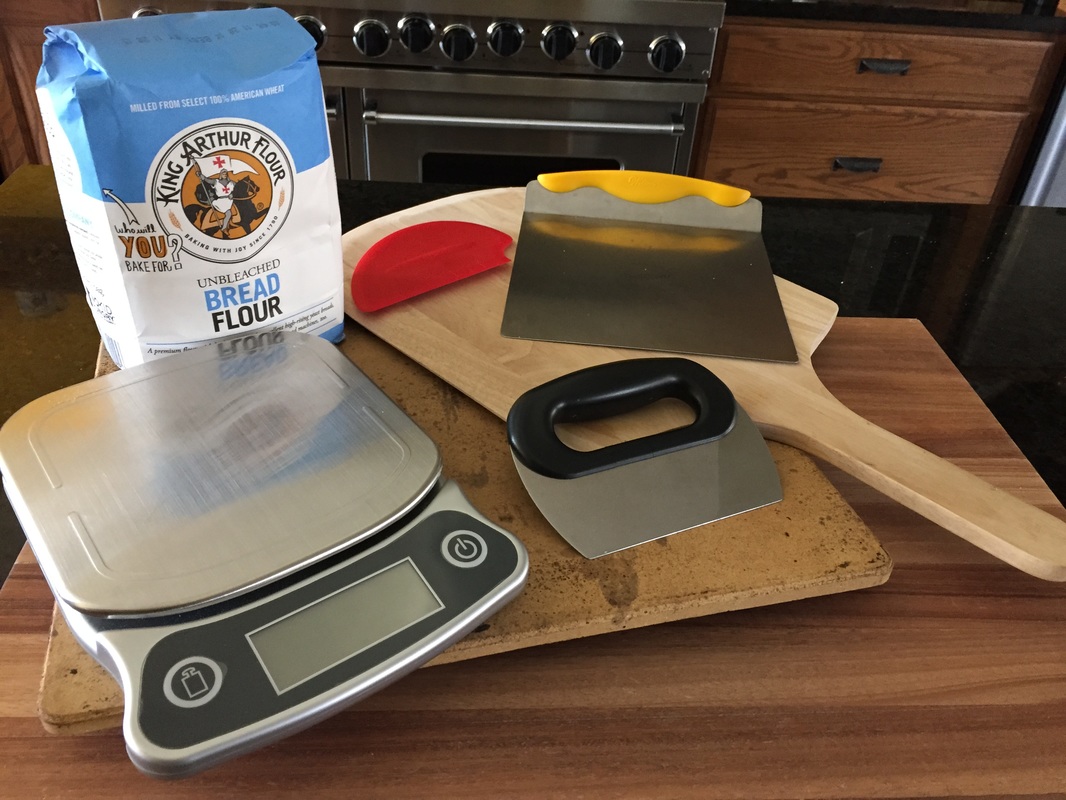
Most important is the weight ratio of liquids to flours – called the hydration ratio. Bread "recipes" are actually formulas, and especially in small batches, the best results are achieved when the ingredients are weighed. This recipe has a hydration ratio of 79%. Ciabatta is famous for its slipper shape and for the holes in its crumb. The holes are created when the bread gluten develops fully and the water in the dough evaporates during the baking process. Consequently, this particular dough is very wet and very sticky. Bench tools like a plastic bowl scraper and an oversize dough scraper make working with sticky doughs much easier. While no one bread flour is inherently better than any other, there are differences from one to the next. Differences in flour particle size, for example, result in one flour being able to hold more liquid than another. For this reason, I use King Arthur Unbleached Bread Flour exclusively. If you choose another brand you may need to adjust the water added in Step 1. If your first attempt produces bread with holes too small, add another half ounce of water the next time. Conversely, if the holes are too big, reduce the water by a half ounce. While Ciabatta can be baked on a parchment lined sheet pan, it bakes best on a ceramic stone – and preferably a square one to accommodate two loaves simultaneously. A wooden pizza peels works best to transfer the uncooked loaves from their rising place to the oven. |
Helpful Bread-Making Equipment
|
Day 1 - Make the Poolish
Combine the flour, yeast, and water in a large glass bowl. Mix well with a spatula. When thoroughly mixed, scrape down the sides of the bowl and cover tightly with plastic wrap.
At this point, you have two options for allowing the Poolish to develop. You can allow the Poolish to sit at room temperature for about 4 hours and then refrigerate it until you are ready to make the bread dough. Alternatively, if you prepare the Poolish after 5 PM on day 1 and plan to make the bread the next morning (say between 8 and 10 AM), you can simply let the Poolish develop at room temperature overnight. I prefer the second option. 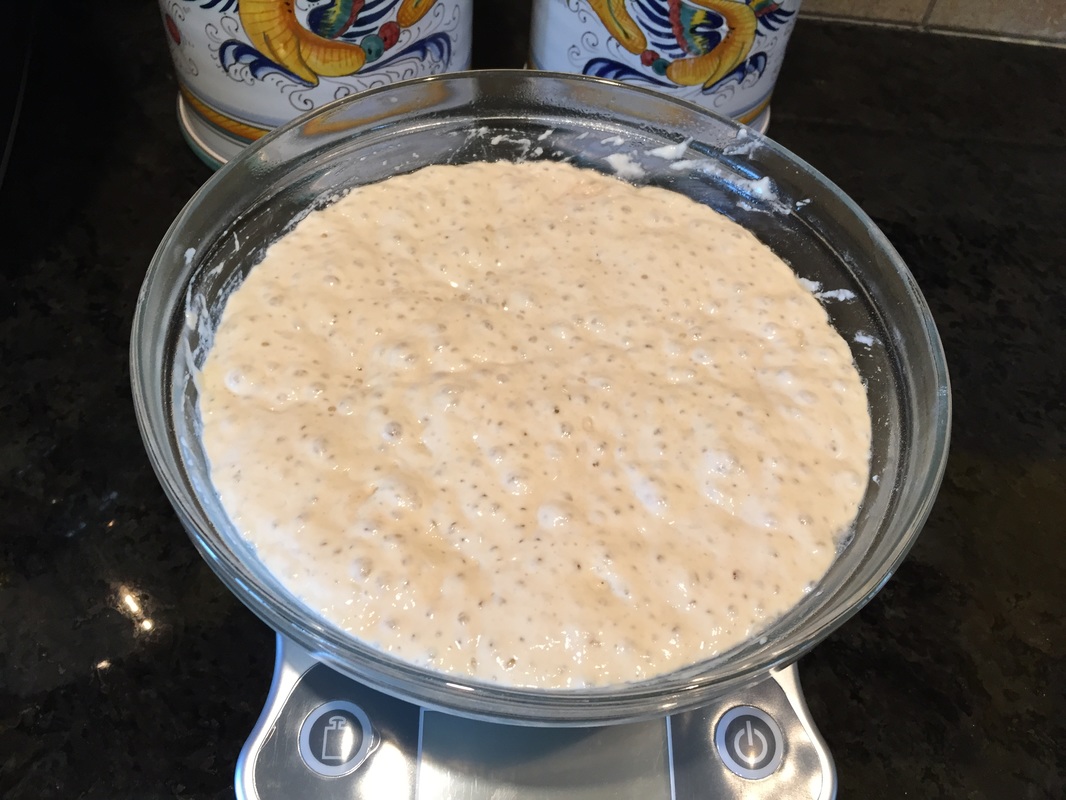
The Poolish after developing overnight at room temperature.
|
Day 2 - Step 1 - Make the bread dough
In a medium size mixing bowl, combine the flour, malt powder, yeast and salt.
Using a plastic bowl scraper, transfer the Poolish to the bowl of a stand mixer and add the water. Using the paddle attachment, begin kneading the Poolish and water at slow speed. Add the flour mixture about a half cup at a time. When all the flour is added and fully hydrated, increase the mixing speed to medium-high (about #6 on a KitchenAid mixer) and knead for at least 10 minutes. 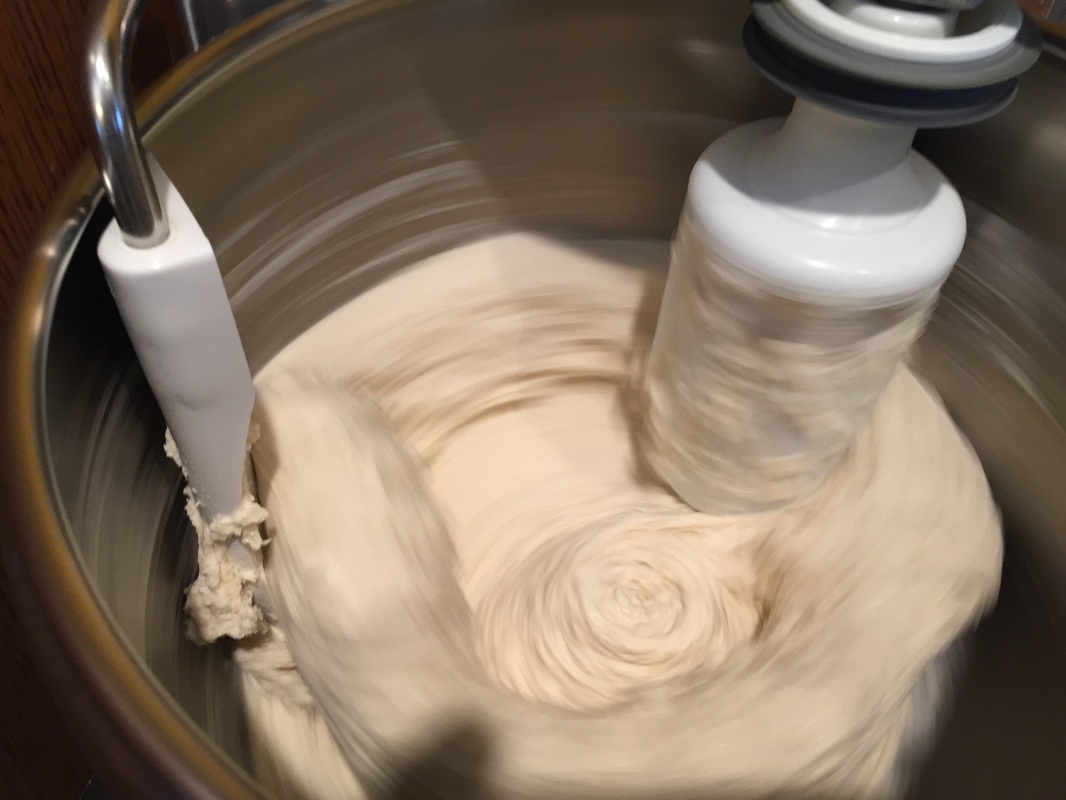
The dough in the mixing bowl in the early stages of kneading.
|
Step 2 - Knead to develop the glutenAfter 8 or 9 minutes of kneading at medium-high speed, the dough will begin to pull away from the sides of the bowl and clump around the paddle. Continue kneading for another minute or two. If the dough does not begin to pull away from the bowl after 8 or 9 minutes, increase the mixing speed. Clumping is a sign of gluten development and is very important. Over-kneading is not a concern here.
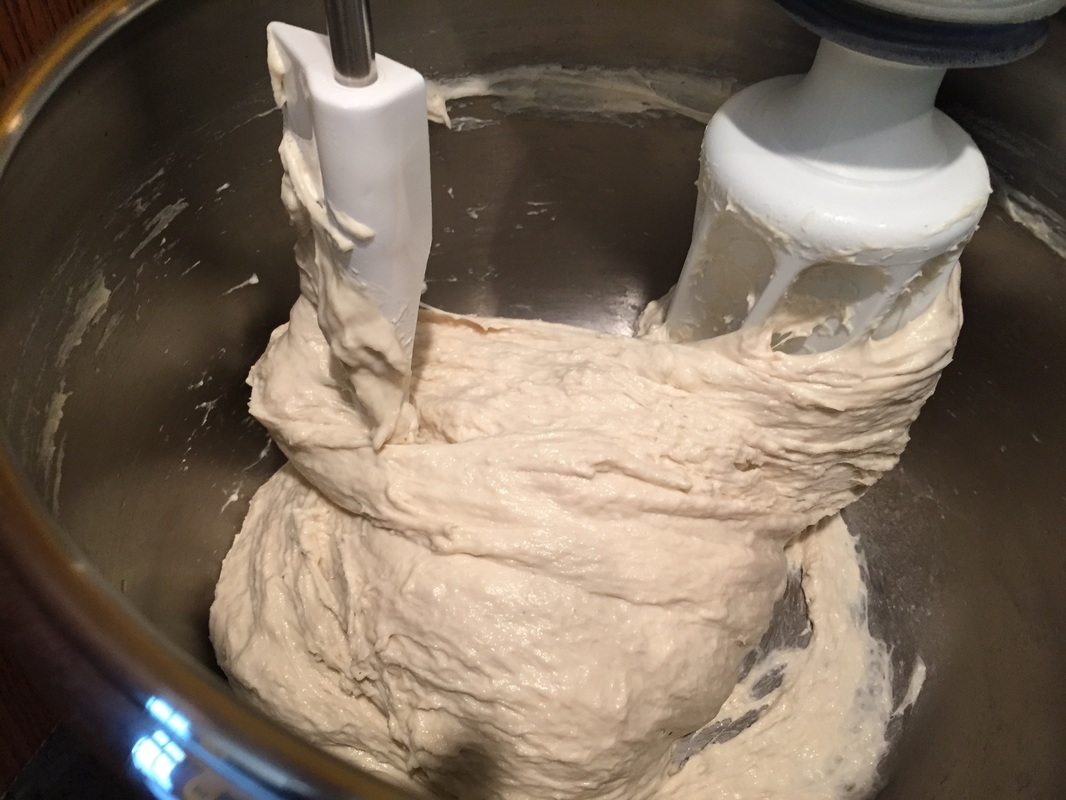
The dough in the same mixing bowl after 10 minutes of kneading. Note the clumping.
|
Step 3 - Time to rest
Using a plastic bowl scraper, remove the dough to a well floured cutting board and let it rest for about 5 minutes.
I use this time to wash the mixing bowl and paddles while any remaining bits of dough are still wet. When allowed to dry, these innocent looking bits of dough become as hard as concrete and are very difficult to remove. 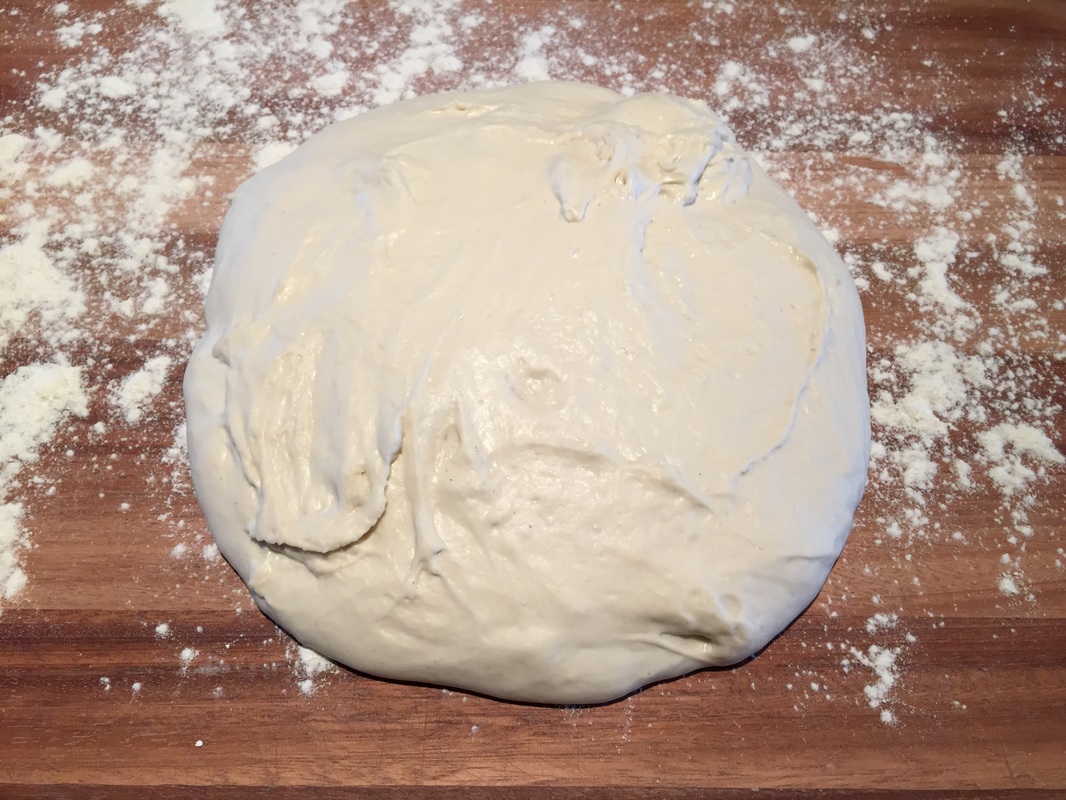
The dough from the mixing bowl should rest for about 5 minutes before beginning the folding process in the next step.
|
Step 4 - Stretch and fold
Using well floured hands and a large metal bench scrapper, stretch the dough to the right several inches and fold the extended portion back over the dough mass until the rightmost end reaches the center of the dough. Repeat the folding process on the left side, but this time fold the extended portion completely over to the right side – as if you were folding a sheet of paper into thirds.
Rotate the dough 90 degrees and repeat the two stretches and folds. Cover with a large bowl and let rise for 30 minutes. After exactly 30 minutes, repeat the folding process described above. After the fourth fold, cover again and let rise for 60 minutes. 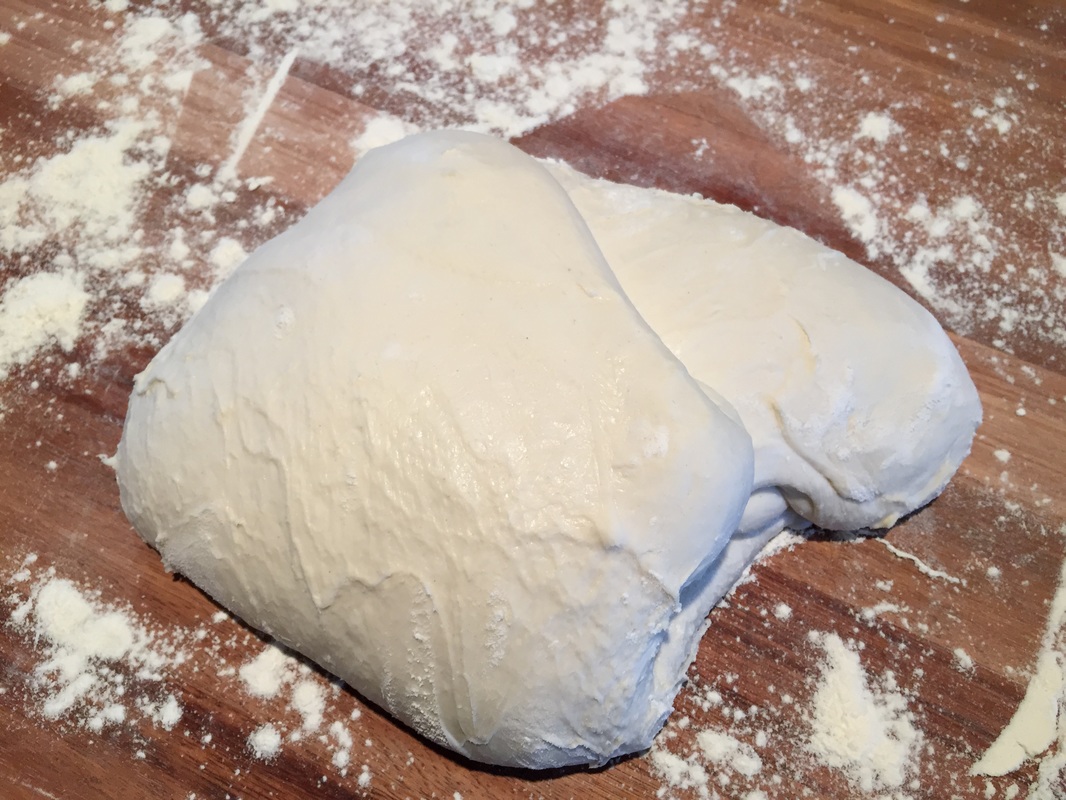
The dough after the first series of folds.
|
Step 5 - Shape and let rise again
After the second rise, and using the bench scrapper and well floured hands, divide the dough into roughly two equal portions.
Repeat the series of four folds described in Step 4 with each dough portion. The dough will be very sticky, but if you keep your hands floured it is still easy to handle. Now shape the dough into something roughly similar to a very large egg, as shown below. The exact shape is not important at this stage. It is important that folding lines (see the picture in Step 4) no longer be visible. Cover each dough ball separately, and let rise for 60 minutes. (I use a baker's couche for this step, but it is only important that the dough be covered.) 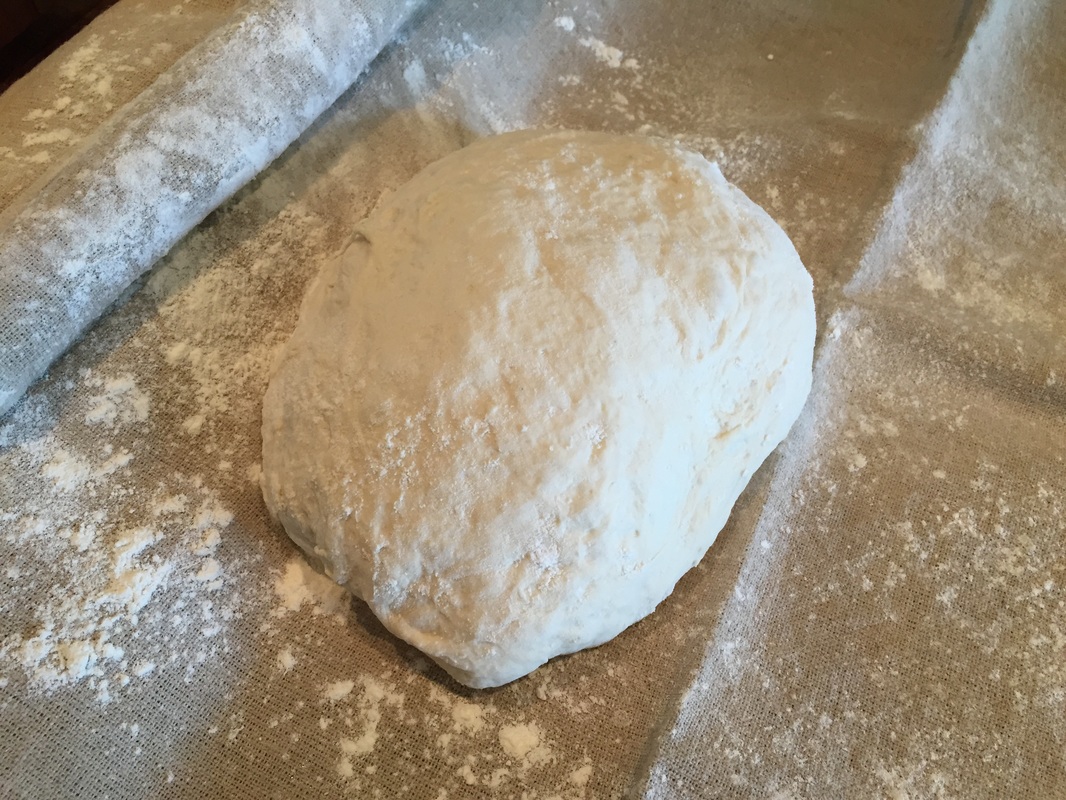
Half of the original dough mass, shaped and ready for the final (third) rise.
|
Step 6 - Prepare for baking
While the dough begins its final rise (Step 5), place a baking stone on an oven rack roughly at the center of the oven. Place another rack below the rack holding the stone. Place a shallow metal pan on this lower rack. This pan will serve as a steam pan.
Preheat the oven to 525° F. Allow at least 45 minutes for the stone to heat thoroughly. When the dough has completed its final rise, carefully move the loaves to floured pizza peels. 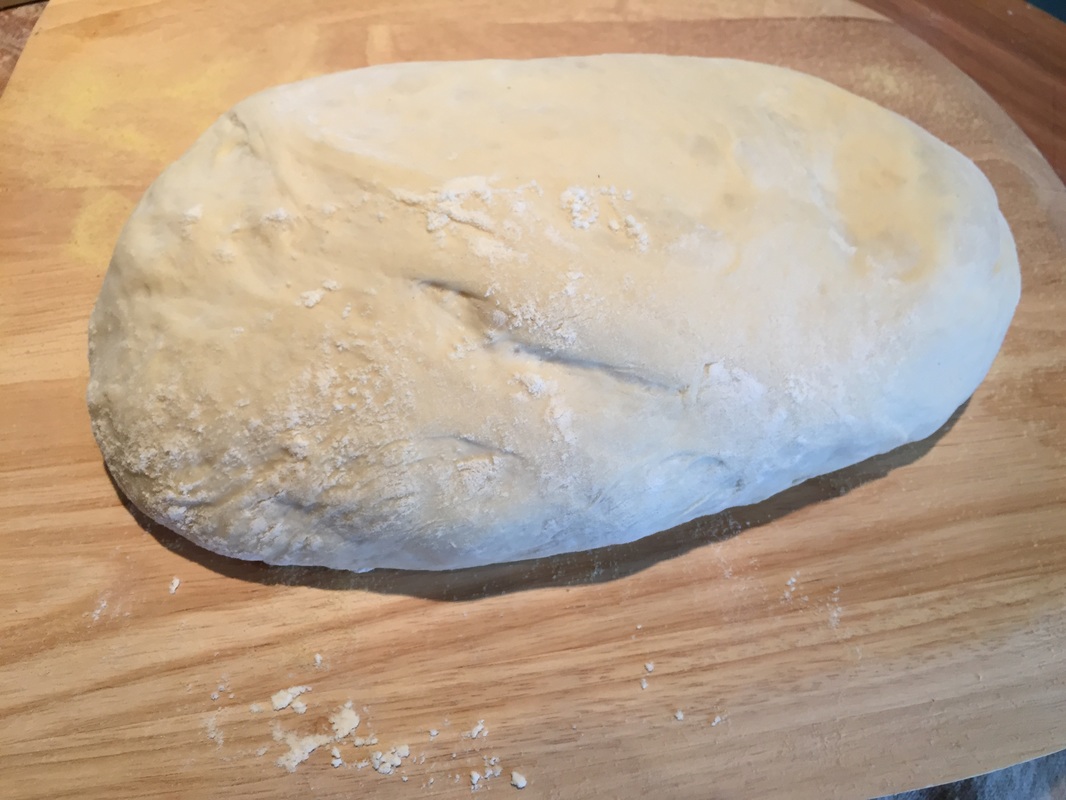
The dough after its final rise.
|
Step 7 - Shape and punch down lightly
Using only the tips of your fingers on one hand, punch the loaves down to create little indentations. With the palms of both hands, finish shaping by working the loaves into the classic slipper shape.
Slide them onto the heated baking stone. Carefully add a half-cup of hot water to the steam pan, reduce the oven temperature to 475° F, turn on your oven's convection fan, and bake for exactly 8 minutes. At the eight minute mark, remove the steam pan, turn off the convection fan, and continue baking for another 14 minutes. 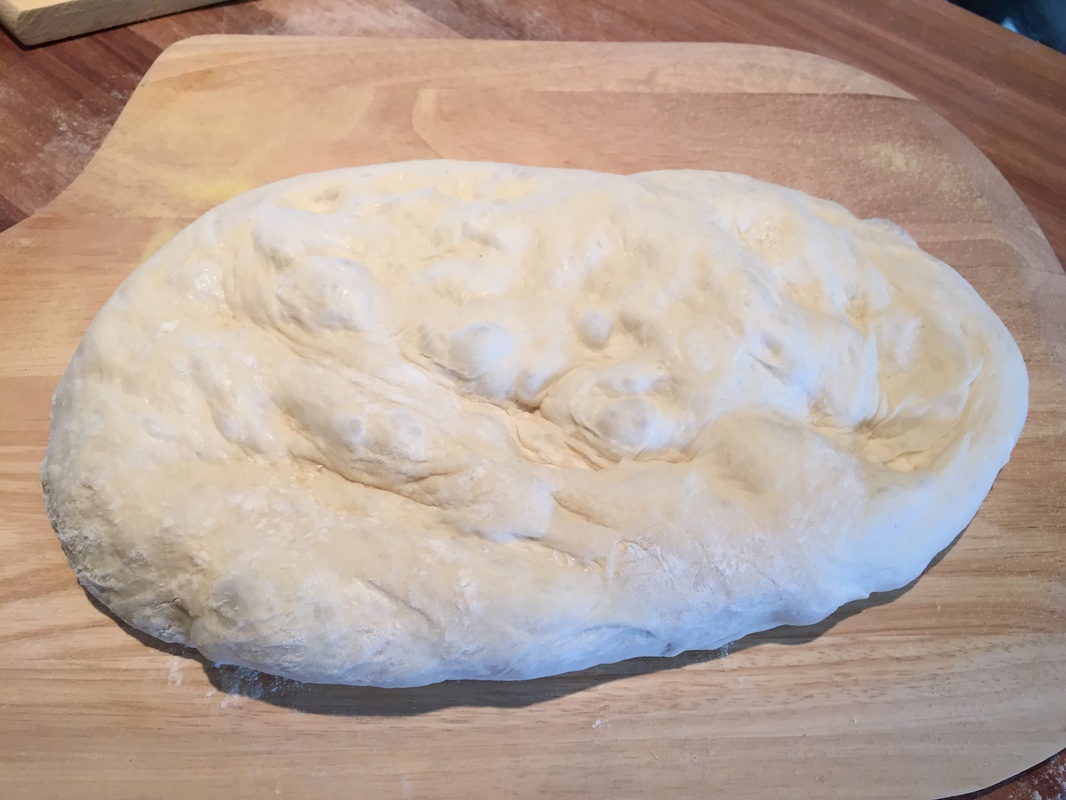
The dough after being "punched down" with extended fingers, and ready for the oven.
|
Step 8 - Let cool
Remove the bread to a cooling rack. Let the bread cool for at least an hour before serving.
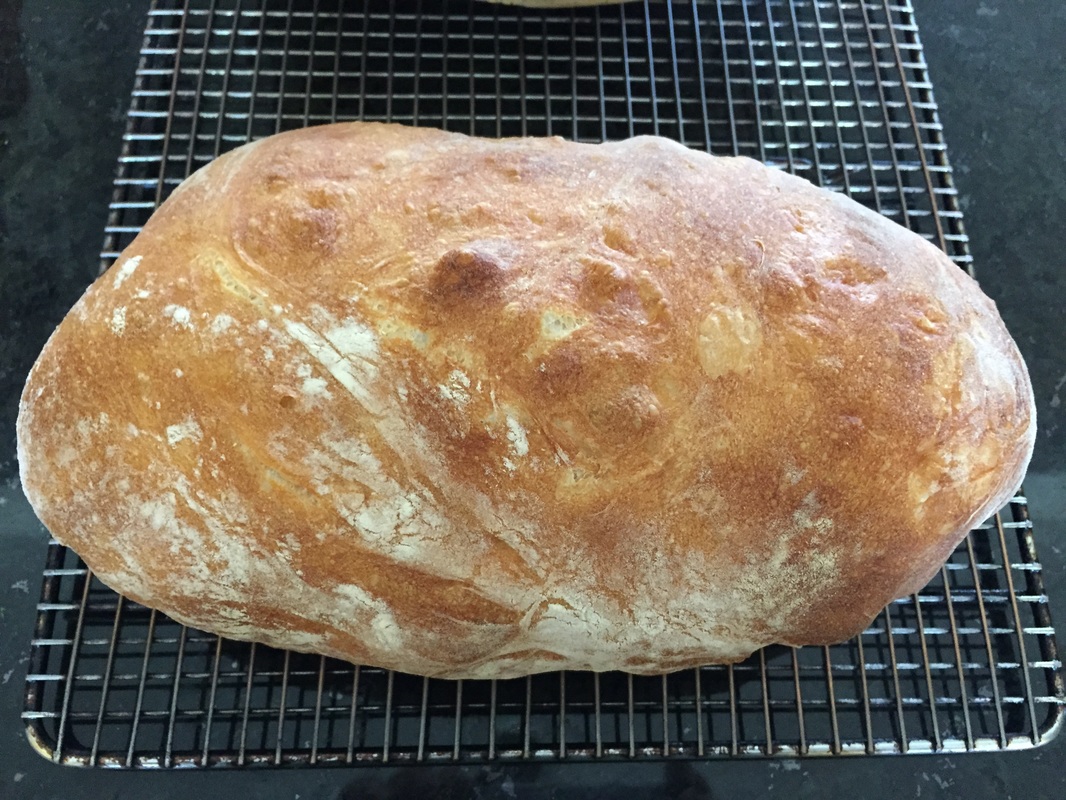
Fresh from the oven.
|
Step 9 - Enjoy the results!
Step 9 is the best part – enjoying the fruits of your labor. I find a serrated knife works best for slicing Ciabatta.
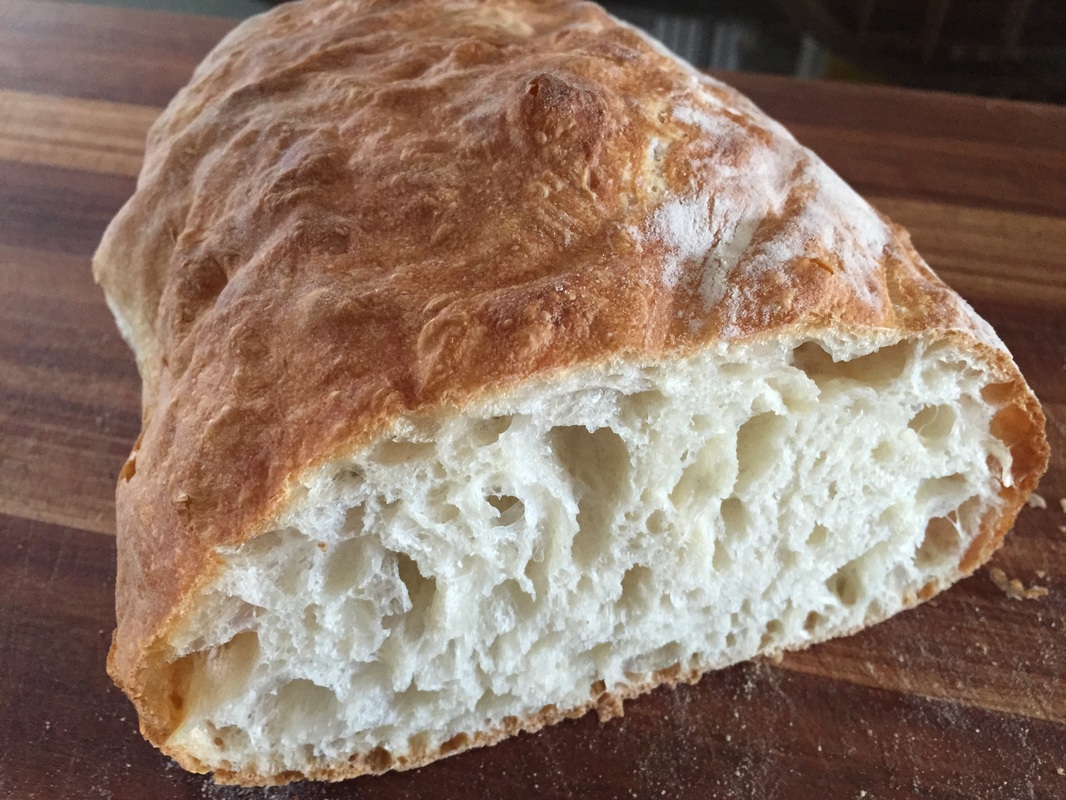
Note the holes – a distinguishing characteristic of Ciabatta.
Notes
|
Posted: April 2015.