Grandpa Joe's Italian Kitchen
  • Home
  • Blogs
  • Recipes
  • Vegetarian Recipes
  • Blog History
  • About
My son's
Chicago-Style Deep Dish Pizza

The comments, directions, and photographs were prepared by my son, David.  I only provided the formatting.

Picture
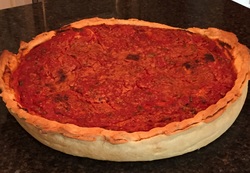
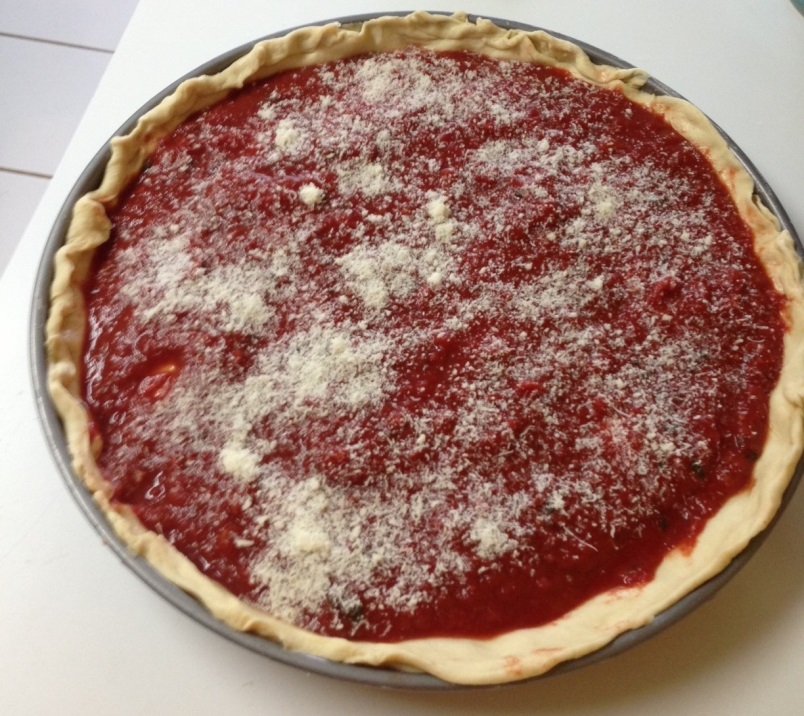
Chicago-Style Deep Dish Pizza.

About this recipe

The key to a Chicago-style pizza is a buttery, flaky crust and a tangy but simple sauce.  In order to have a sauce that has the intense flavor we Chicagoans are used to, it is important to use high-quality tomatoes such as 6 In 1 or San Marzanos.  In my research I have found that Giordano’s (my personal favorite) uses 6 In 1.  So that is what I use in this recipe.  The dough recipe provides the weight of each ingredient as well as the approximate cup measurement.  Using the weight measurement is much more accurate, but if you do not have a scale the cup measurements should work just fine.  As mentioned before, this dough is not the same as a New York style pizza dough.  It uses a low protein flour (like all-purpose) and the gluten is not developed at all.  Therefore, this dough is not for tossing.  It should be treated more like a pie dough.  Lastly, this recipe is for a 14” pizza.  If you have a different sized pan, you will need to convert the measurements to correspond with the different sizes.

Sauce Ingredients

  • 28 ounces 6 IN 1 brand All Purpose Ground Tomatoes
  • ½ teaspoon kosher salt
  • 1 teaspoon sugar
  • ½ cup fresh basil, chopped
  • a few dashes red pepper flakes (to taste)

Dough Ingredients

  • 685 grams (5½ cups) all-purpose flour
  • 342 grams (about 1½ cups) water
  • 111 grams (8 tablespoons) vegetable oil
  • 37 grams (3 tablespoons) extra virgin olive oil
  • 5½ grams (1½ teaspoons) active dry yeast
  • 4 grams (¾ teaspoon) salt
  • 3 grams (¾ teaspoon) sugar

Pizza Ingredients

  • Italian sausage
  • pepperoni
  • mozzarella cheese
  • Romano cheese
  • unsalted butter

Sauce Directions

  1. Mix the ingredients together the night before.
  2. Do not cook.  You want to keep the fresh, tangy flavor of the tomatoes.
  3. Cover, but do not refrigerate!  Uncooked tomatoes lose much of their flavor when refrigerated.

Dough Directions

  1. Mix the yeast, sugar and water in a mixing bowl.  Allow the yeast to dissolve.
  2. Add the salt to the flour and mix together while still dry.
  3. Add the oil to the water/yeast mixture.
  4. Either by hand or with an electric mixer using the paddle attachment, begin mixing in the dry ingredients.
  5. The total mixing time should take no longer than 4 minutes.  Remember, you do not want to develop the gluten.  So you do not want to knead the dough any more than necessary.
  6. Place the dough in an oiled bowl and cover until it doubles in size (60 - 90 minutes).
  7. Once the dough has doubled, place the dough in a plastic bag and refrigerate for at least one hour, or preferably, overnight.  Refrigerating overnight is optional, but this allows the dough a chance to rest and also enhances the yeasty flavor of the dough.
  8. The next day, or after at least an hour, roll the cold dough into a rectangle (the thinner the better) and spread butter over the entire surface.  This is what will give you that flaky crust.
  9. Starting with the short end, roll up the dough like a log, then flatten it.
  10. Cut the rectangle into two.
  11. Take one piece at a time and fold into thirds.  Pinch the ends together and roll the dough until it turns into a ball.  Place the dough back into the plastic bag and place in the refrigerator for at least an hour to allow the butter to firm up.

Putting It All Together

  1. Place a cooking stone on the oven rack in the middle of the oven.  Set the oven for 500° F.  (The stone is optional but helps with even cooking).
  2. Grease the pan with a generous amount of butter.
  3. Roll out one of the balls of dough until it more than exceeds the size of the pan (you need to make sure it covers the sides as well).
  4. Place the dough in the pan and press out all of the air.
  5. Add your toppings (this is an ironic term since the toppings are on the bottom).  The more the better.
  6. Add shredded mozzarella cheese.  Again the more the better.  When you think you have added enough, add even more.
  7. Roll out the second ball of dough and place it on top of the pie.
  8. Pierce the top in several places.  This is to ensure the steam has a way to escape.  Otherwise you will have a saucy balloon instead of a flat pie.
  9. Trim the edges and pinch the two pieces of dough together to seal.
  10. Add the sauce.  You should use the entire amount on a 14” pie.
  11. Sprinkle with grated Romano Cheese.
  12. Lower the oven to 450° F.
  13. Place the pie on the stone and bake for 40 - 45 minutes.  Turn the pie 90 degrees halfway through the process again to ensure even cooking.
  14. Pull the pie out and immediately take out of the pan and place on a cutting board.
  15. Let the pie cool for 5 - 10 minutes to allow the ingredients to set up (this is by far the most difficult step of the entire process).
  16. Slice and enjoy!!

Notes

  • The list of possible pizza "toppings" is limited only by the extent of your imagination.
Picture
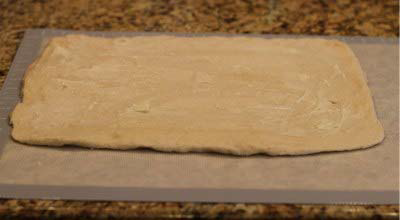
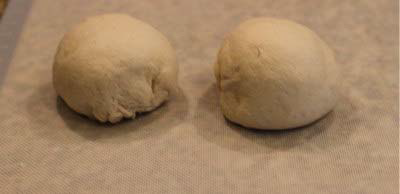
Dough Directions: step 8.
Picture
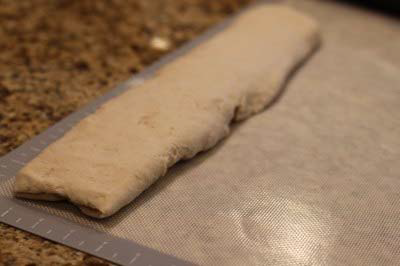
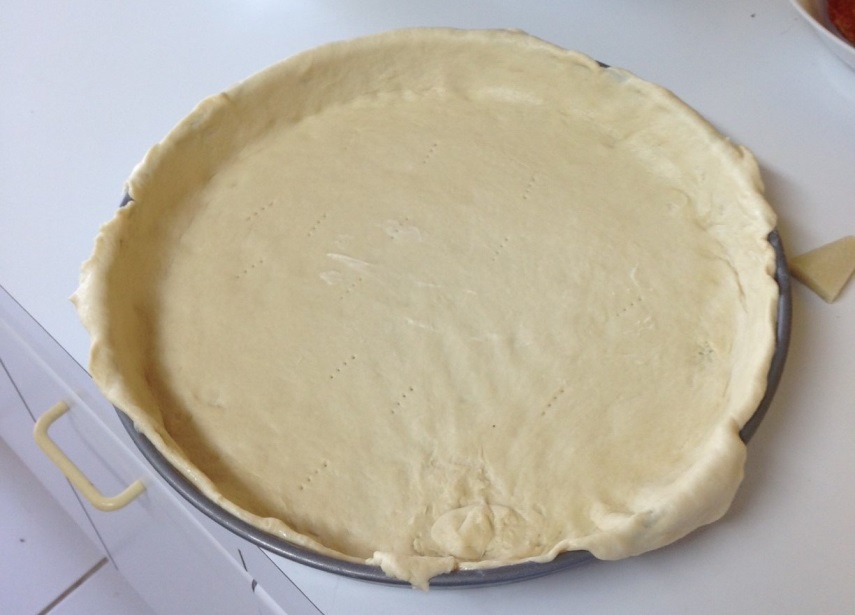
Dough Directions: step 9.
Picture
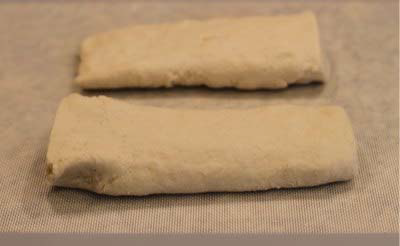
Dough Directions: step 10.
Picture
Dough Directions: step 11.

Picture
Putting It All Together: step 4.
Picture
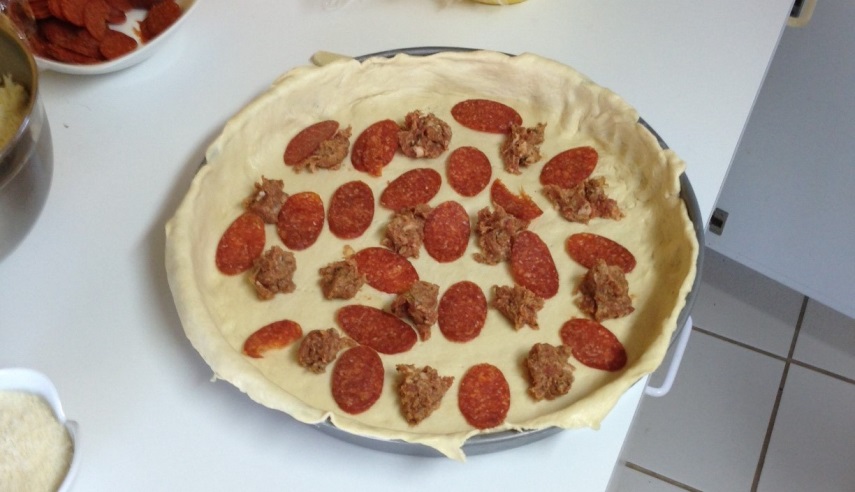
Putting It All Together: step 5.
Picture
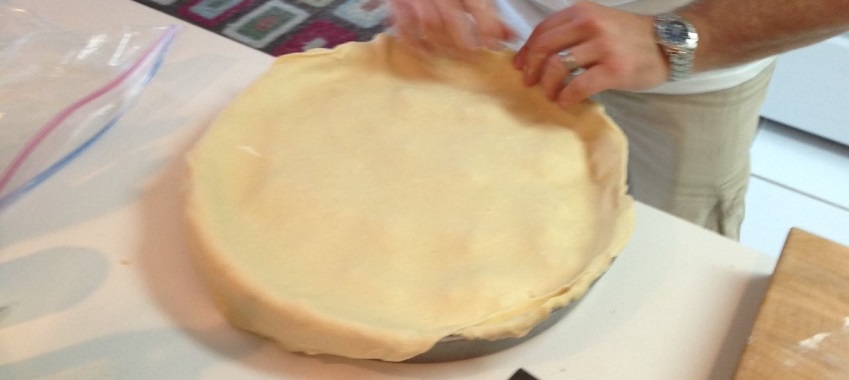
Putting It All Together: step 9.
Picture
Putting It All Together: step 11.

Posted: July 2015.